Reading Architectural Plans: A Guide for Hawaii Homeowners and Builders
Introduction
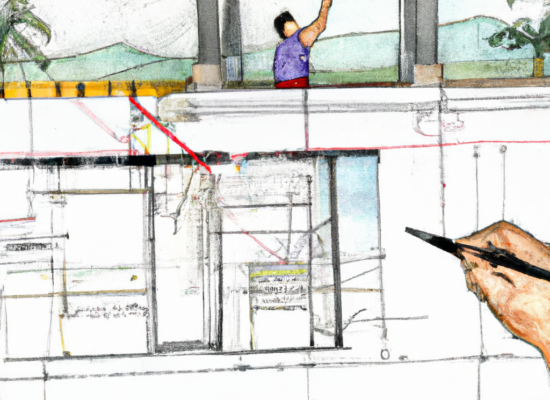
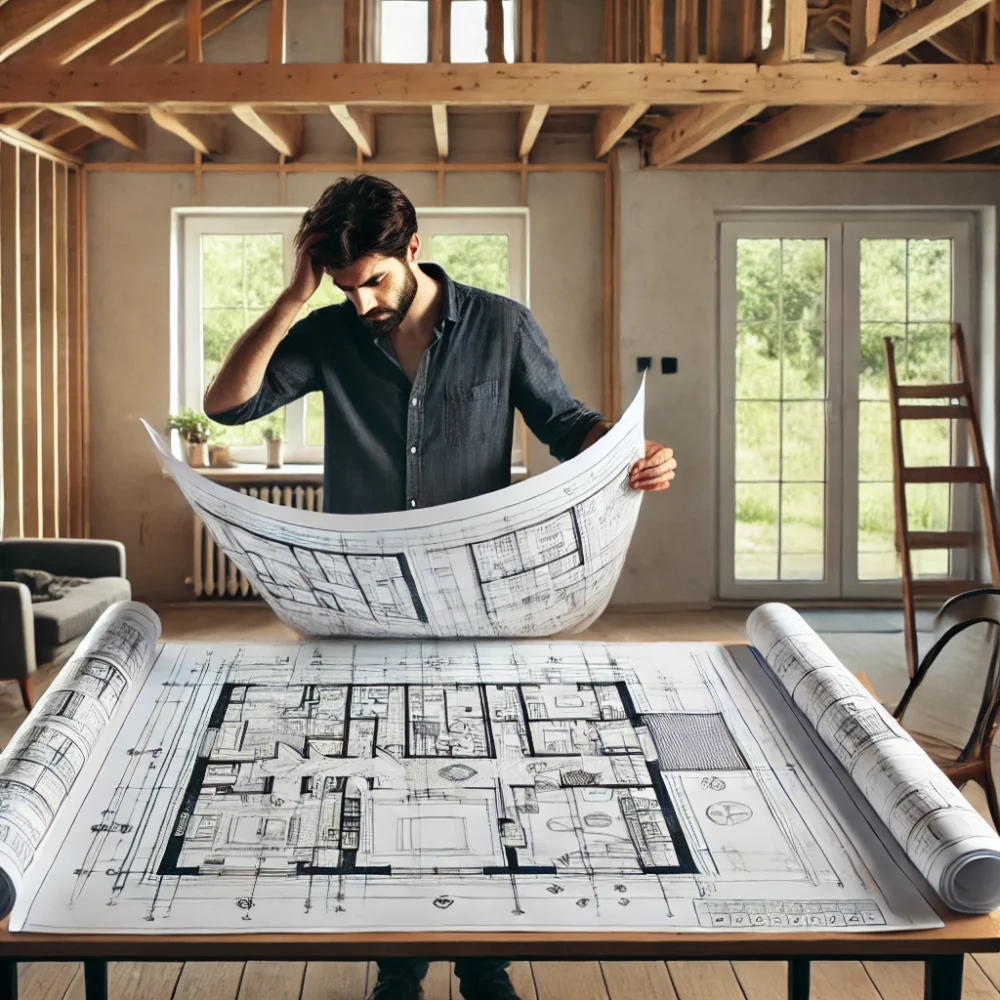
Imagine standing on your lanai, the ocean breeze brushing your face, as you hold a set of blueprints for your dream home. You’re excited, but as you scan the intricate lines, symbols, and notes, a wave of confusion hits. What do all these markings mean? How do you make sure your vision translates into reality? Whether you’re building a cozy home or estate for retirement on the Big Island or an ADU (Accessory Dwelling Unit) on Oahu, understanding how to read architectural plans is key to bringing your Hawaiian home to life.
Architectural plans might look intimidating, but with a little guidance, you’ll learn to navigate them with ease. This guide will break down the basics of reading construction drawings, tailored to Hawaii’s unique building environment, and give you the confidence to tackle your project head-on. Plus, we’ll highlight tips for owner-builders looking to take the reins of their projects while avoiding common pitfalls. Have you ever tried deciphering a floor plan or wondered what those mysterious symbols mean? Let’s dive in—and don’t hesitate to share your own experiences in the comments!
The Three Core Elements of Architectural Plans
When you first unroll a set of construction drawings, it might seem like you’re staring at a foreign language. But at the heart of every architectural plan are three simple components: drawings, notes, and schedules. Once you understand these, the rest starts to fall into place.
1. Drawings: The Visual Roadmap
Drawings are the backbone of any architectural plan—they’re the roadmap that brings your dream home from concept to concrete reality. Imagine these drawings as the storybook of your future home, each page revealing another layer of its personality, structure, and style. They paint a vivid picture of not just what your home will look like, but how it will function, stand strong against the Hawaiian elements, and harmonize with its environment. From bird’s-eye floor plans to detailed structural frameworks, these visual guides are the key to transforming your vision into a tangible space. Here’s what you’ll typically encounter when diving into these blueprints:
- Plan Drawings: These overhead views show the layout of each floor—think of them like a bird’s-eye view of your home. They include the arrangement of rooms, walls, doors, and windows. For owner-builders, this is where you’ll visualize how your day-to-day life will flow through the space. Have you ever walked into a room and felt like something was “off”? Floor plans help prevent that by allowing you to tweak the layout before the walls even go up.
- Elevation Drawings: These side views display the exterior appearance of your home, highlighting things like rooflines, window placements, and finishes. If you’re customizing your facade or ensuring your home captures that perfect ocean breeze, this is where you’ll focus. What’s your dream home’s best angle—the makai-facing side or the lush garden view?
- Section Drawings: Cross-sectional views that slice through the building to reveal structural elements like walls, floors, and ceilings. Sections provide a deeper understanding of how your home’s bones fit together, and for owner-builders, they’re essential for understanding the materials and methods needed. Ever wondered what’s really inside your walls? Sections spill those secrets.
- Structural Drawings: These detail the framework of your home—foundation plans, floor framing, roof framing, and structural details to ensure your home stands strong against Hawaii’s elements. Owner-builders should pay close attention here, as these plans highlight the safety and integrity of the entire structure. Have you faced any challenges with structural requirements, like hurricane ties or flood-proofing? Share your insights!
- Site Plans: A broader view that shows how your home sits on the property, including setbacks, landscaping, and utility connections. In Hawaii, site plans often account for flood zones, wind exposure, and environmental factors. Owner-builders will find these helpful for coordinating excavation, landscaping, and utility hookups. Ever had to adjust your design due to an unexpected utility line or zoning setback?
- Electrical and Plumbing Drawings: Schematics outlining where electrical outlets, lighting, switches, and plumbing fixtures will be installed. In some Hawaiian counties, plumbing isometrics and a plumbing fixture schedule are required to manage water usage effectively. For DIY enthusiasts, these drawings are your best friend when planning out wiring or plumbing installations. Have you ever tackled wiring on your own? How did it go?
In Hawaii, ceiling plans are typically included only when necessary—for complex lighting arrangements or unique ceiling features.
2. Notes: Adding Context to the Visuals
Notes are like the footnotes to your home’s story, offering crucial details that give depth and clarity to the visual drawings. While they might seem like tedious fine print at first glance, they are packed with essential information that ensures nothing is left to interpretation during construction. Think of them as the instructions that help bridge the gap between the designer’s vision and the builder’s execution. These notes clarify materials, techniques, and specifications that aren’t immediately obvious in the drawings, preventing costly mistakes down the line. They often include:
- General Notes: Instructions on construction standards and practices, tailored to the specific project. These can include a wide range of essential details, such as stormwater management notes referencing Erosion and Sediment Control Plans (ESCP), which ensure that your project complies with local environmental regulations. You might also find notes about solar system installations, specifying placement and electrical connections for photovoltaic panels to align with Hawaii’s sustainability goals. Material specifications are often included to guide the contractor in selecting appropriate resources—especially important in Hawaii’s humid, salt-rich environment. Additionally, these notes outline building codes and safety regulations specific to your project’s jurisdiction, ensuring that everything from fire safety standards to structural integrity requirements is addressed. Have you ever run into conflicting information between your notes and your contractor’s interpretation? How did you resolve it?
- Abbreviations: Common shortcuts like “A/C” for air conditioning or “AFF” for above finished floor. As an owner-builder, having a solid grasp of these abbreviations will help you interpret plans quickly and communicate effectively with contractors.
- Project-Specific Details: Information on materials, finishes, or construction methods unique to your home.
In Hawaii, notes might include special considerations for termite-resistant materials, hurricane ties for structural stability, energy-efficient features like solar water heaters, or specifications for swimming pool installations. Swimming pool notes often cover safety barriers, filtration systems, drainage requirements, and energy-efficient pump systems that comply with Hawaii’s environmental standards. Have you ever considered adding a pool to your Hawaiian home? What design challenges did you face?
3. Schedules: The Construction Cheat Sheet
Schedules are organized lists that detail specific components of the construction process—from door types and window sizes to finishes and fixtures. They help ensure everything is consistent across the project. For owner-builders, schedules simplify the material selection process and make it easier to coordinate deliveries and installations.
One schedule you’ll frequently encounter in Hawaii is the plumbing fixture schedule. This helps local water boards manage fixture counts and ensure your project meets water conservation guidelines.
How to Interpret Scales and Symbols
Architectural plans are drawn to scale, meaning the drawings are proportionally reduced versions of the actual structure. For example, 1/4” = 1’ means that every quarter-inch on paper equals one foot in real life. As an owner-builder, understanding scale helps you visualize the actual size of rooms, fixtures, and spaces—crucial when making layout decisions.
You’ll also see a variety of symbols on the plans, each serving a specific purpose. These symbols can represent windows, doors, and even indicate revisions to the design. Revision symbols are especially important, as they highlight updates made after the original drawings were created, ensuring you’re always looking at the most current version of the plan.
- Window Symbols: These indicate the location, type, and sometimes the size of windows in the building. They often correspond to a window schedule, which provides further details like material and glazing type.
- Door Symbols: Similar to window symbols, door symbols show where doors are placed, their swing direction, and type. These symbols typically reference a door schedule with specific dimensions and hardware details.
- Revision Symbols: These mark areas of the plan that have been updated or changed from the original design. They often include a revision cloud with a triangle or circle noting the revision number and date.
- Section Markers: Show where cross-sections are taken in the building, giving you a deeper look into structural components.
- Elevation Tags: Reference specific elevation drawings for a clearer picture of your home’s exterior.
Understanding these scales and symbols is key to navigating your plans effectively, especially when coordinating with contractors or taking on DIY tasks. Have you ever come across a confusing symbol in your plans that left you scratching your head? Or perhaps you’ve experienced a surprise during construction because of a missed revision symbol? Share your stories or questions in the comments—I’d love to hear how you’re navigating your own building journey!
Conclusion
Reading architectural plans might feel overwhelming at first, but with a little practice, you’ll be able to navigate them like a pro. Understanding these plans not only gives you more control over your construction project but also helps you make informed decisions throughout the process.
Have you faced any unexpected challenges while reading your own construction plans? Or perhaps you’re gearing up for your first build and feeling a little lost? Drop your questions and stories in the comments below. I’d love to hear about your experiences, and who knows—your question might be featured in a future post!
If you’re planning a construction project in Hawaii and need expert guidance on architectural drafting or building permits, reach out today. Let’s work together to bring your vision to life—with precision, care, and the spirit of Aloha.