Calculate the Slope: A Guide to Measuring the Degree of Slope in Your Construction Project
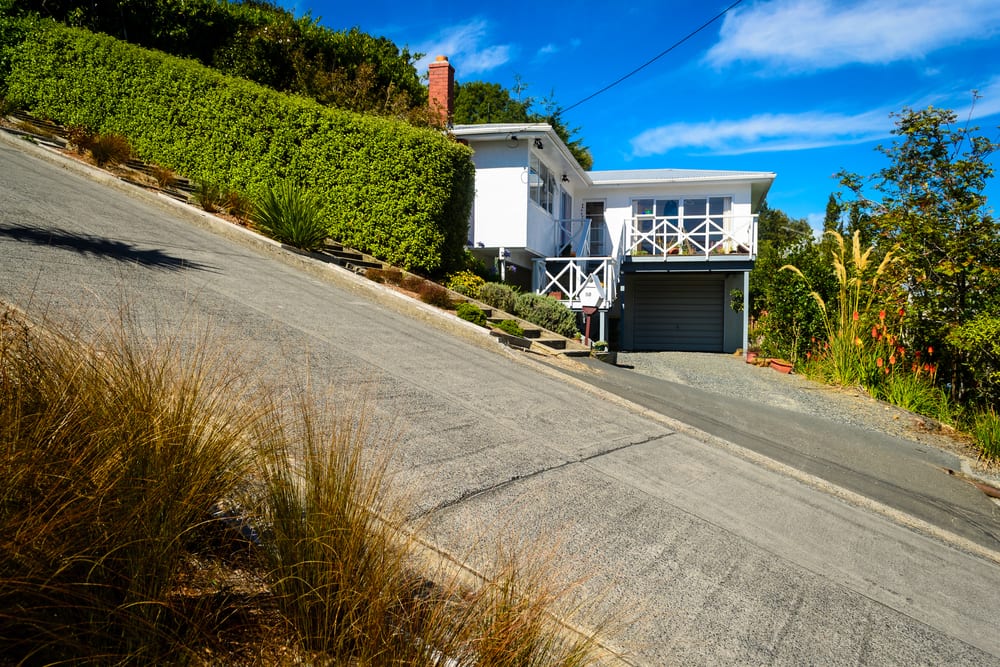
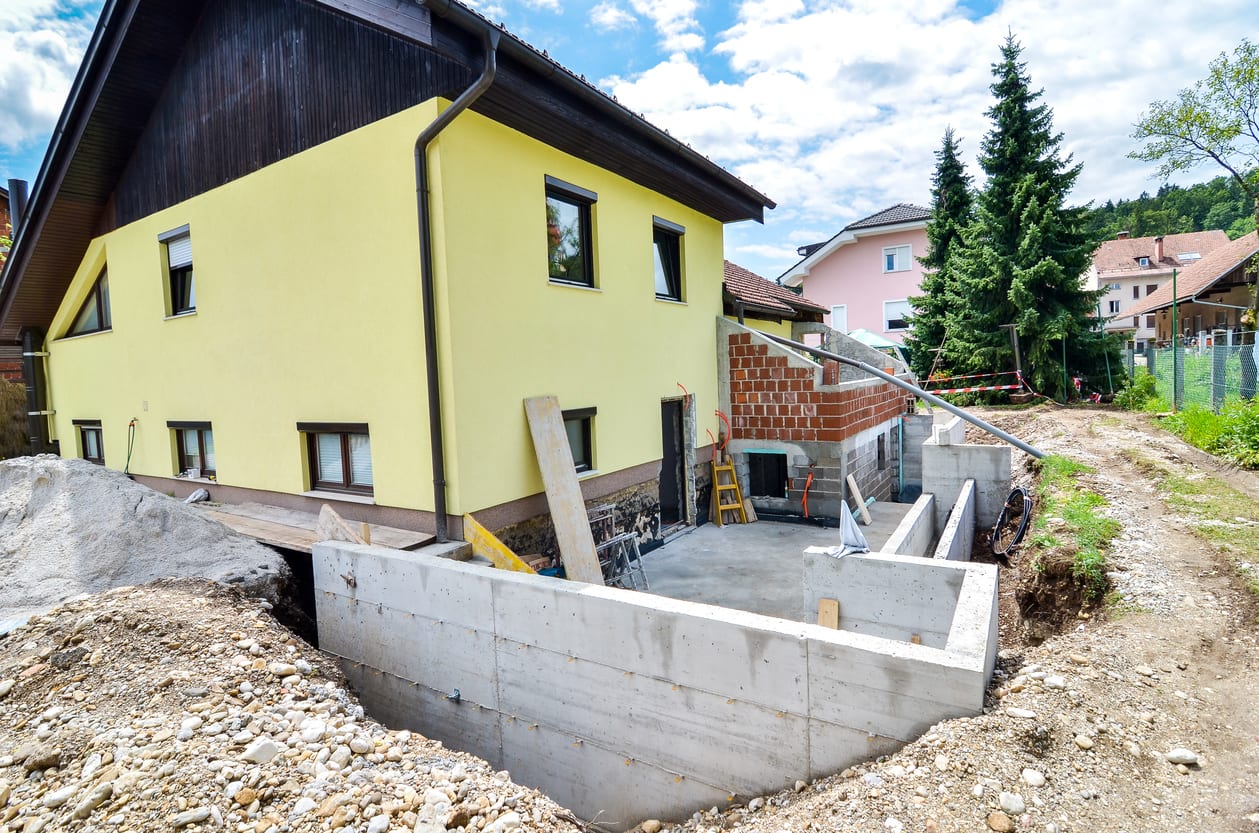
If you’re planning a construction project that will disturb your property, you need to have a comprehensive understanding of the slope of your land. This is because the slope of your land will determine the type of Erosion and Sediment Control Plan you will need to submit to the Department of Permitting and Planning. In this article, we’ll provide you with a step-by-step guide on how to calculate the slope of your construction project.
Calculate the Slope: Understanding the Importance of Slope Measurement
Before you begin the slope measurement process, it’s essential to understand why the slope of your land is so crucial. The slope of your land will determine the category of Erosion and Sediment Control Plan you will need to submit. The two categories are Category 1A and Category 1B. Category 1A plans are for residential jobs that are less than 1,000 square feet and have a slope of 15% or less, while Category 1B plans are for residential jobs that are larger than 1,000 square feet or have a slope of more than 15%.
Calculate the Slope: The Step-by-Step Guide
Now that you understand the importance of slope measurement, it’s time to get started with the process. Here’s a step-by-step guide on how to calculate the slope of your construction project:
Step 1: Measure the Rise
To measure the slope, you’ll need to start by measuring the rise. The rise is a vertical measurement that represents the height of the slope. You may need someone to assist you in measuring the rise, and you may need to use a string or tape measure to extend out from the top of the slope so that you can measure straight up to the appropriate height. Once you’ve measured the rise, mark it down as the “rise.”
Step 2: Measure the Run
Next, you’ll need to measure the horizontal run of the slope. To do this, measure the distance from the top of the slope straight across to the end of the slope. Make sure to hold the tape measure straight out at the top of the slope and extend it over to the end of the slope. Use a level if necessary to make sure the tape measure is straight. This number represents the “run.”
Step 3: Calculate the Slope
Finally, divide the rise by the run and multiply the total by 100. For example, if your rise is 20 feet and the run is 60 feet, then your slope would be 33%.
Once you have the slope measurement, you can use it to determine which type of Erosion and Sediment Control Plan you need to submit. If your slope exceeds 15%, you’ll need to fill out the appropriate plan templates for Category 1B, while if your slope falls below 15%, you’ll need to fill out the paperwork for Category 1A.
In conclusion, measuring the slope of your construction project is an essential step in the Erosion and Sediment Control Plan process. By following the steps outlined in this guide, you’ll be able to accurately calculate the slope of your land and submit the appropriate plan to the Department of Permitting and Planning.
 Copyright secured by Digiprove


